Mac setup

Install Hubbub on your Mac

Six steps, about five minutes — plus a seventh on a child's Mac whose account isn't an administrator, which needs a parent there for a minute. Step 3 is the one people skip — it's also the one that lets Hubbub keep itself up to date afterwards, so it's worth doing properly the first time.

Step 1: Download Hubbub

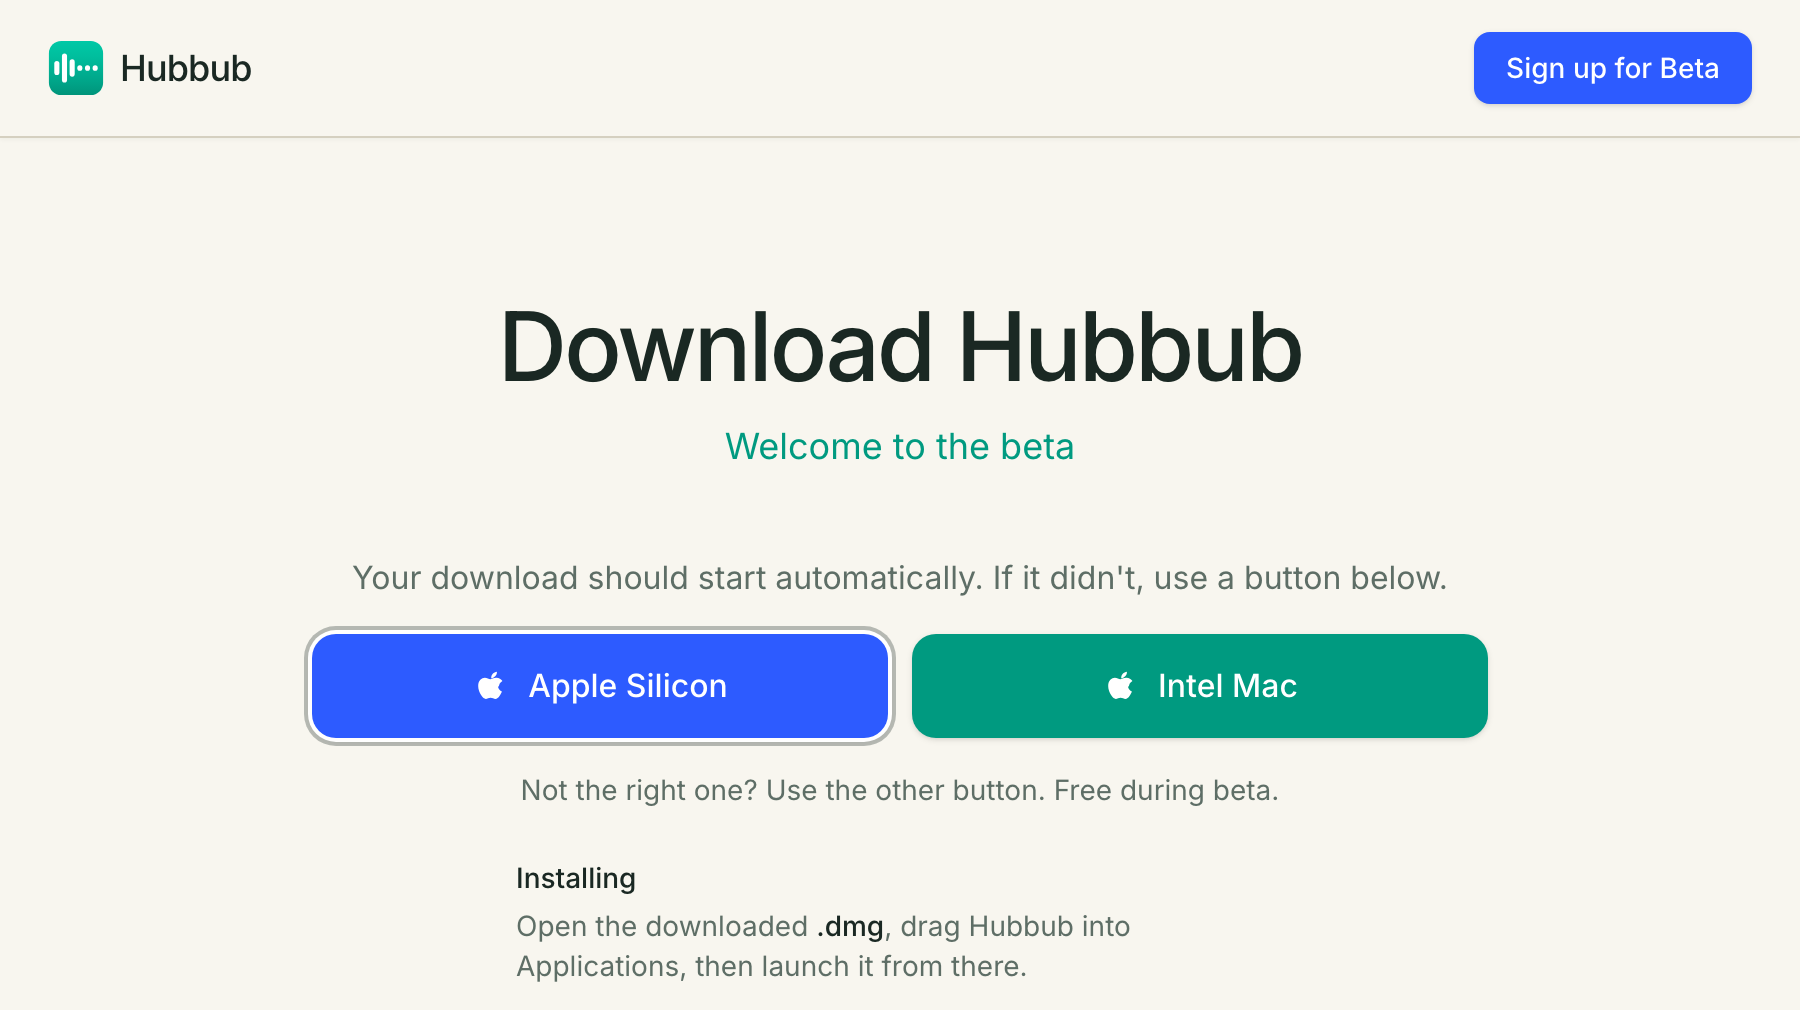
Open the download link from your Hubbub invite email. It takes you to hubbub.77sparx.com/download and starts the download on its own — if it doesn't, use one of the two buttons on that page.

Apple Silicon or Intel? Open the Apple menu in the top-left corner of your screen and choose About This Mac. If the Chip line starts with “Apple”, pick Apple Silicon; if it says Intel, pick Intel Mac. If you can't tell, pick Intel Mac — that one runs on either kind of Mac.

The Hubbub download page, with an Apple Silicon button and an Intel Mac button side by side.

Step 2: Open the downloaded file

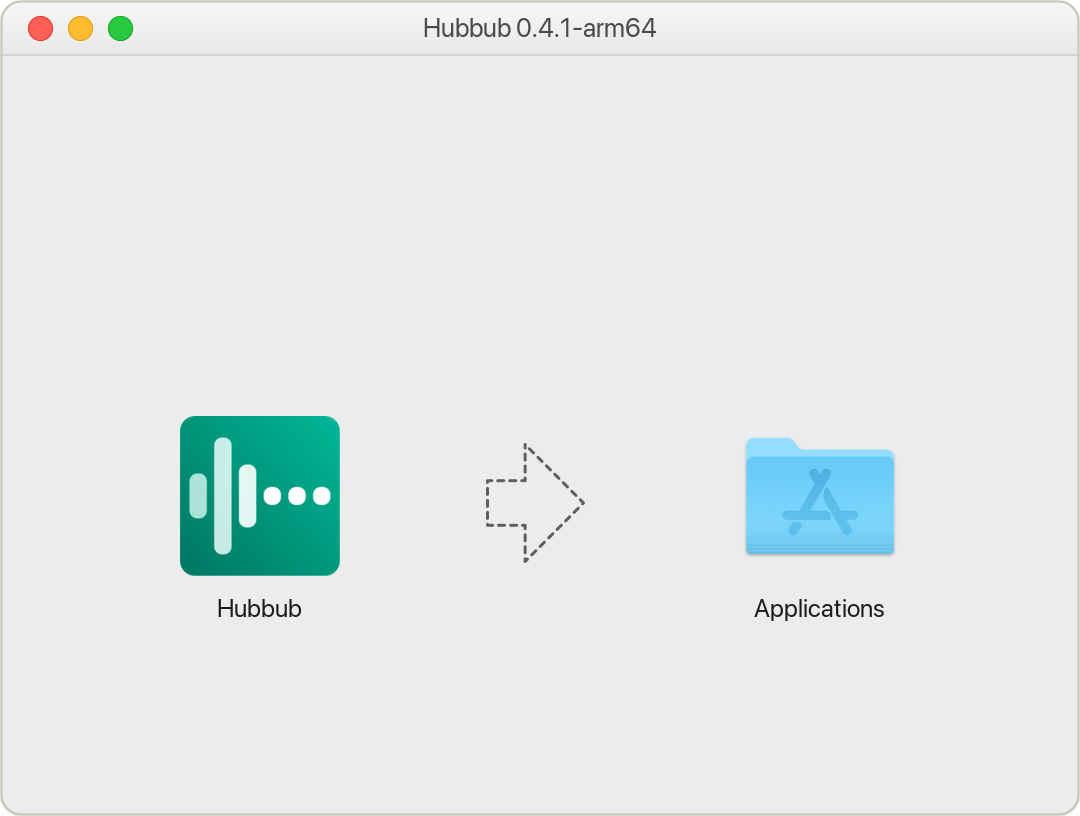
Look in your Downloads folder for a file whose name ends in .dmg — something like Hubbub-0.4.1-arm64.dmg. Double-click it. A small window opens with the Hubbub icon on the left and an Applications folder on the right.

Step 3: Drag Hubbub onto the Applications folder

Press and hold the Hubbub icon, drag it across the arrow, and let go on top of the Applications folder. That copies Hubbub onto your Mac. Wait for the copy to finish before moving on.

On a child's Mac without an administrator account, macOS asks for an administrator's name and password here — that's expected. Type in yours (see step 7).

The Hubbub disk image window: the Hubbub app icon on the left, a dashed arrow in the middle, and the Applications folder on the right.

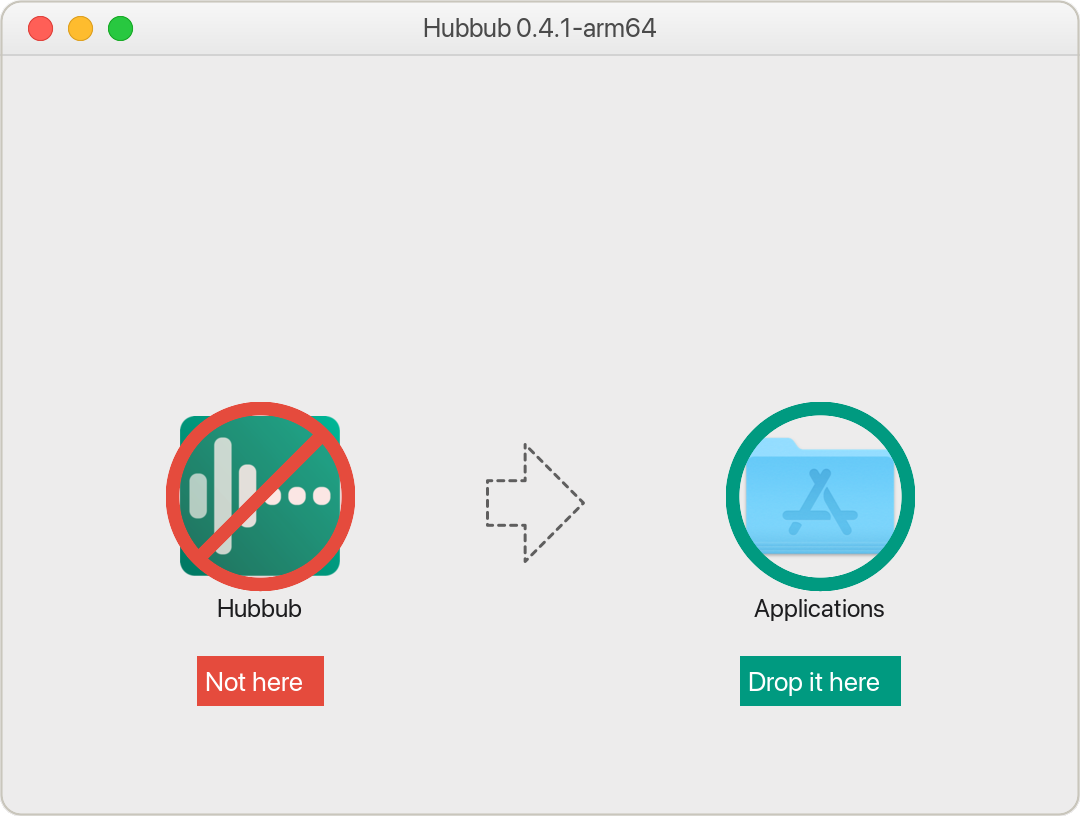
Don't double-click Hubbub inside this window

It looks like it works — Hubbub opens and runs normally. But macOS quietly runs apps started from a disk image out of a temporary, read-only copy, and an app in that state can never install its own updates. You'd stay on today's version for good, restarting into the same build every time an update arrives. Copy it into Applications first, and updates take care of themselves from then on.

The same disk image window, with the Hubbub icon crossed out and marked “Not here”, and the Applications folder circled and marked “Drop it here”.

Step 4: Eject the disk image

In the Finder sidebar, under Locations, find the disk named after the version you downloaded and click the ⏏ button beside it. You can drag the .dmg file from Downloads to the Trash afterwards — you don't need it again.

The Hubbub disk listed under Locations in the Finder sidebar, with the eject button at the right-hand end of the row.

Step 5: Open Hubbub from your Applications folder

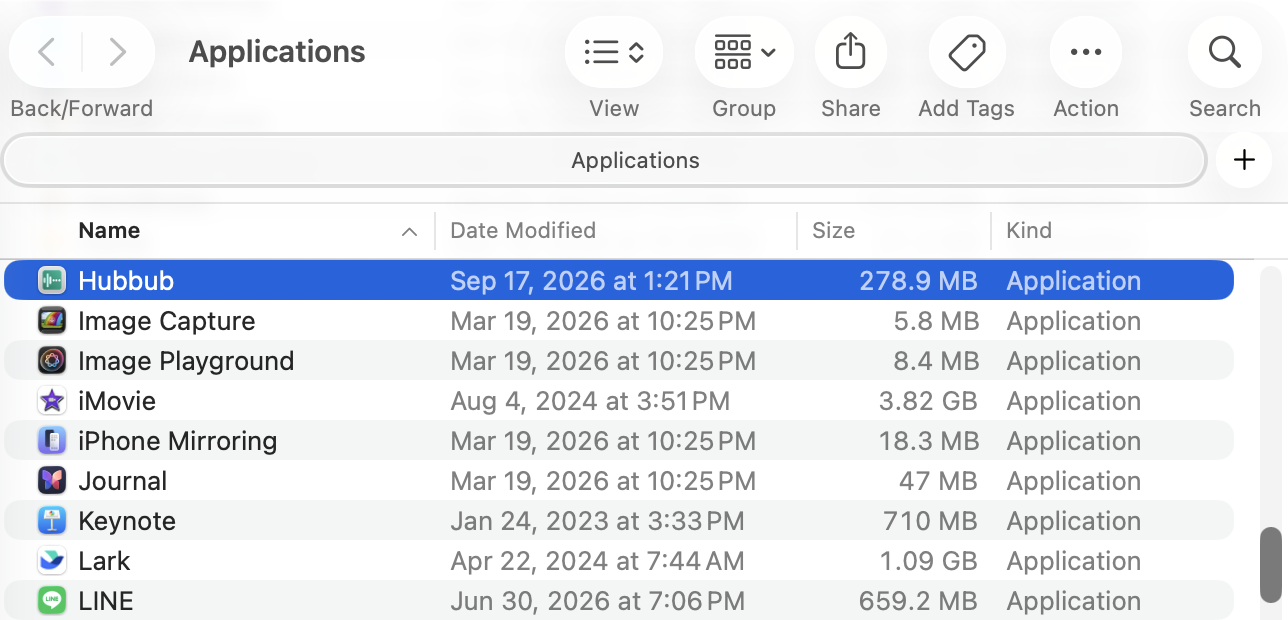
Open Finder, click Applications in the sidebar, and double-click Hubbub. Because you downloaded it from the internet, macOS asks you to confirm the first time you open it — click Open. From now on you can also launch Hubbub from Spotlight or your Dock.

The Applications folder in Finder, with Hubbub selected in the list of apps.

Step 6: Sign in and say yes to the permissions

Sign in with the email address your invite was sent to. Hubbub then walks you through four macOS permissions, one screen at a time: System Automation (a single Allow button), Accessibility, your browsers, and finally Screen Recording, which needs a restart that Hubbub does for you.

Each screen explains what the permission is for before it asks. Screen content is analyzed on your Mac — audio is never recorded, and raw screenshots never leave the machine.

What each approval is for, with pictures →

Step 7: On a child's Mac: turn on background updates

Only if your child's account on this Mac isn't an administrator

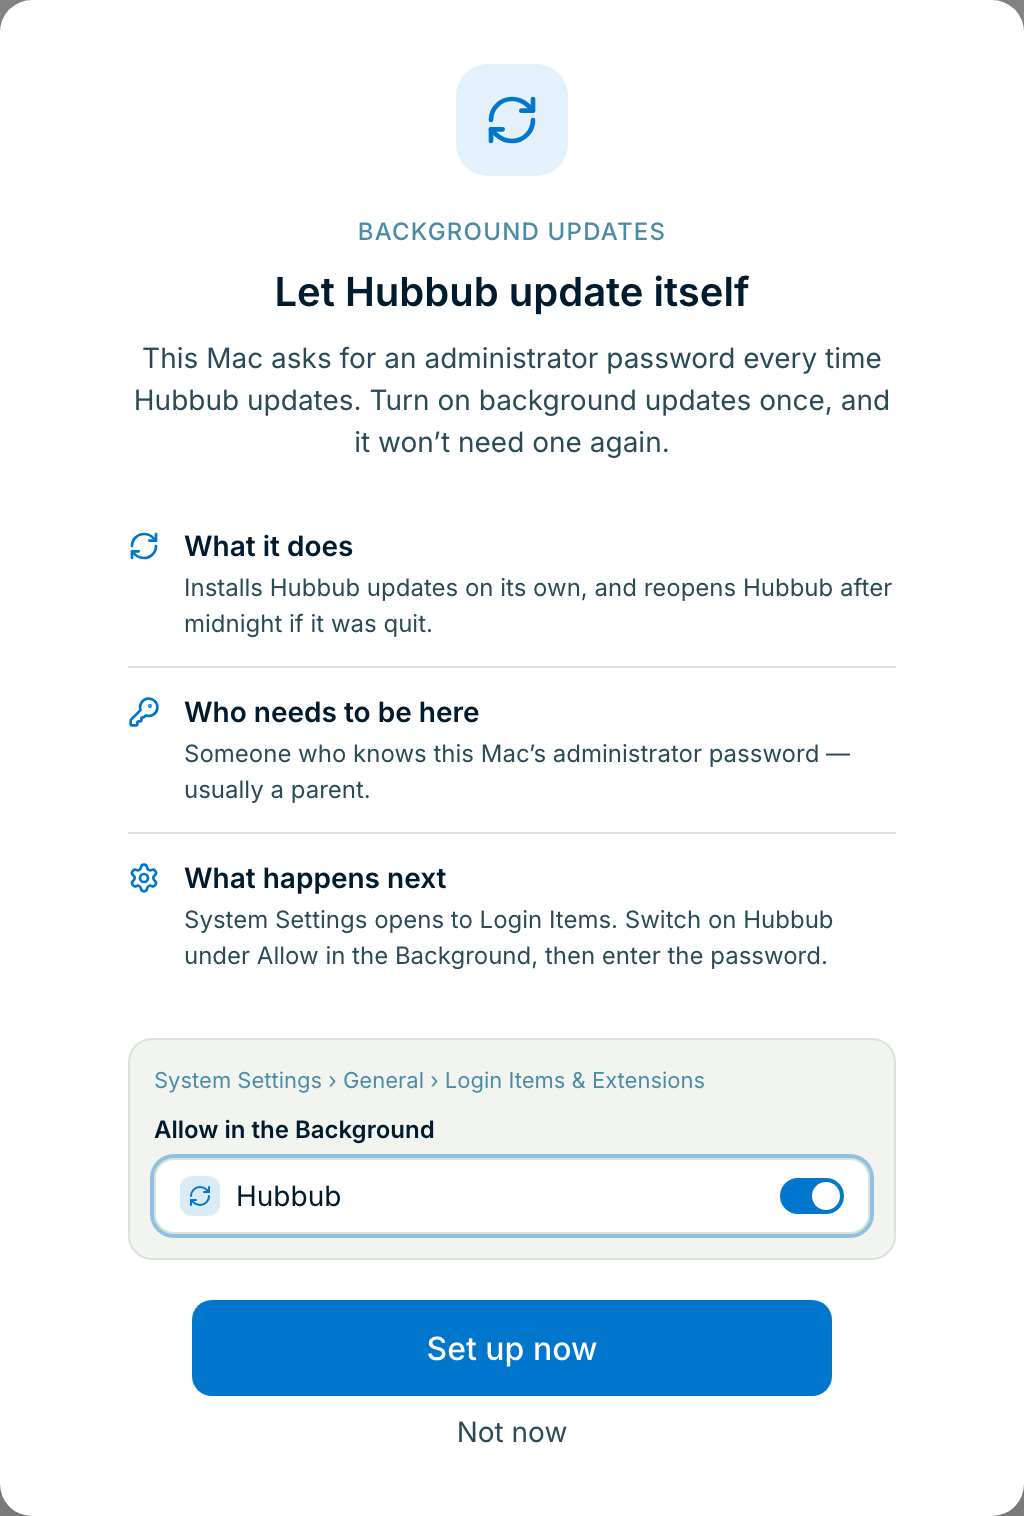
Most kids' Mac accounts are Standard accounts: they can't install or replace apps without a parent's password. That includes Hubbub's own updates, so without this step every update would stop and wait for your password. Right after setup, Hubbub shows a screen called Let Hubbub update itself. With you at the keyboard, click Set up now. System Settings opens to General → Login Items & Extensions: switch Hubbub on under Allow in the Background, and enter your administrator password when macOS asks. You only do this once — from then on Hubbub installs its updates by itself.

Not sure which kind of account it is? Open System Settings → Users & Groups: an administrator account says Admin under the name; a Standard account doesn't. If you're not there when the screen appears, it's fine to click Not now — Hubbub keeps working, and the next time an update is waiting a banner offers Set up background updates again. Turning it on also means Hubbub reopens on its own after midnight if it's quit, and the daily recap tells you when that happens.

More about background updates →

Hubbub's Let Hubbub update itself screen: what background updates do, that someone with the Mac's administrator password needs to be there, what System Settings will ask, and Set up now and Not now buttons.

Already have Hubbub, but it never updates?

If Hubbub keeps offering an update, you click Restart, and the version never changes, it's almost always because the app is being run from the disk image instead of from Applications. Two things to check:

  • Open Finder and click Applications in the sidebar. If Hubbub isn't in that list, it was never installed.
  • In Hubbub, open Settings — the version number sits at the very bottom of the page. Compare it with the newest version on our release notes page.

On a child's Mac with a Standard account there's a second cause: each update is waiting for an administrator password. Hubbub shows a banner saying it can't install the update on its own — use its Set up background updates button with you at the keyboard (step 7 above).

For the disk-image case, the fix is the install above, done once more: quit Hubbub, open the .dmg again (or download a fresh copy), drag it onto Applications and choose Replace if macOS asks, eject the disk image, then open Hubbub from Applications. Your account, settings and history are all waiting where you left them.

Stuck anywhere, or something on screen doesn't match what's described here? Email support@77sparx.com and we'll walk you through it. Don't have an invite yet? Request one here.